How to Convert Word Files to High-Quality Images
How to Convert Word to Image: Complete Guide and Methods for Every User
Page Content:
- Method 1. Use Screenshot Tools for Instant Conversion (Quick Option)
- Method 2. Convert Word to Image Using Microsoft Word (Built-In Option)
- Method 3. Convert Word to High-Quality Image Online with Online Converter (Fast & Easy)
- Method 4. Convert Word to Image Programmatically Using Code (For Developers)
In today’s digital world, converting files into the appropriate format is an essential skill. One of the most common conversions is changing a Word document into an image. Whether you need to create eye-catching visuals for social media, presentations, or just for easier sharing, converting Word to image can save you time and provide better compatibility across different platforms.
But how exactly can you convert a Word file into an image? Luckily, there are several effective ways to do so, from using online tools to advanced techniques that allow developers to automate the process. In this post, we’ll explore the various methods to convert Word documents into high-quality images, so you can choose the one that works best for your needs.
Method 1. Use Screenshot Tools for Instant Conversion (Quick Option)
Pros:
- Quick and easy for small sections of text.
- No need for additional software.
Cons:
- Not ideal for large documents.
- Quality may not be lower than other methods.
If you’re seeking a quick and effortless way to capture a specific portion of a Word document without the complexity of converting the entire file, taking a screenshot provides a fast and simple solution that requires almost no effort at all. Whether you’re pressed for time or just need a snapshot of a section, this method allows you to get the job done in mere seconds.
However, if you’re dealing with a large document, the process of capturing multiple screenshots could become time-consuming and cumbersome. In such cases, this approach works best for smaller documents with fewer pages, offering a streamlined and efficient way to get the content you need without unnecessary delays.
Follow the steps to take screenshot of your Word documents and save in image format:
Step 1. Open Your Word Document on your computer.
Step 2. Use Snipping Tool (Windows) or Command + Shift + 4 (Mac) to capture the part of the document you want as an image.
Step 3. Once you’ve captured the screenshot, save it as a PNG or JPEG file.
Method 2. Convert Word to Image Using Microsoft Word (Built-In Option)
Pros:
- Simple for those who already use Microsoft Word.
- PDF format preserves better document layout.
Cons:
- Requires a second step to convert PDF to image.
If you have Microsoft Word installed on your computer, you can effortlessly use it to save your Word document as a PDF and then transform that PDF into an image. This simple process not only preserves your content’s integrity but also allows you to convert it into a more flexible and visually engaging format, making it easier to share, display, or use in various projects.
Here’s a step-by-step guide on how to save Word in Image format with Microsoft Word:
Step 1. Open Your Word Document: Open Your Document in Microsoft Word.
Step 2. Save As PDF: Go to “File“ > “Save As“ and choose PDF as the file format. This ensures that the layout and formatting are preserved.
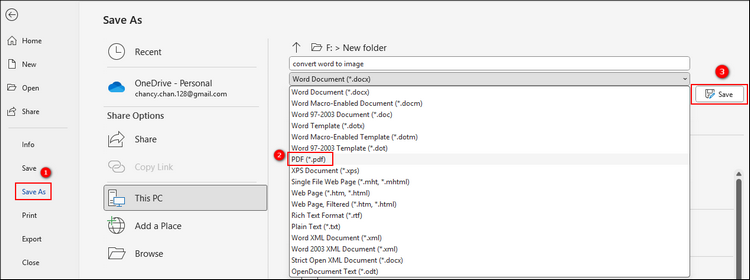
Step 3. Convert PDF to Image: Use a PDF to image converter, such as Adobe Acrobat, to convert PDF into an image format (JPEG, PNG, etc.).
Method 3. Convert Word to High-Quality Image Online with Online Converter (Fast & Easy)
Pros:
- No software installation required.
- Works across all devices.
- Fast and convenient for quick conversions.
Cons:
- Limited customization options.
- May not support batch processing.
One of the easiest and most convenient ways to convert a Word document into an image is by using an online conversion tool. These tools are not only free and fast but also eliminate the need for any software installation. That’s where CloudXDocs Online Word to Image Converter comes in. This powerful cloud-based tool lets you effortlessly convert your Word documents into high-quality images in just a few simple steps.
Why Choose CloudxDocs Online Word to Image Converter:
- No extra installation required and no hidden fees
- High-quality file formats conversion in seconds
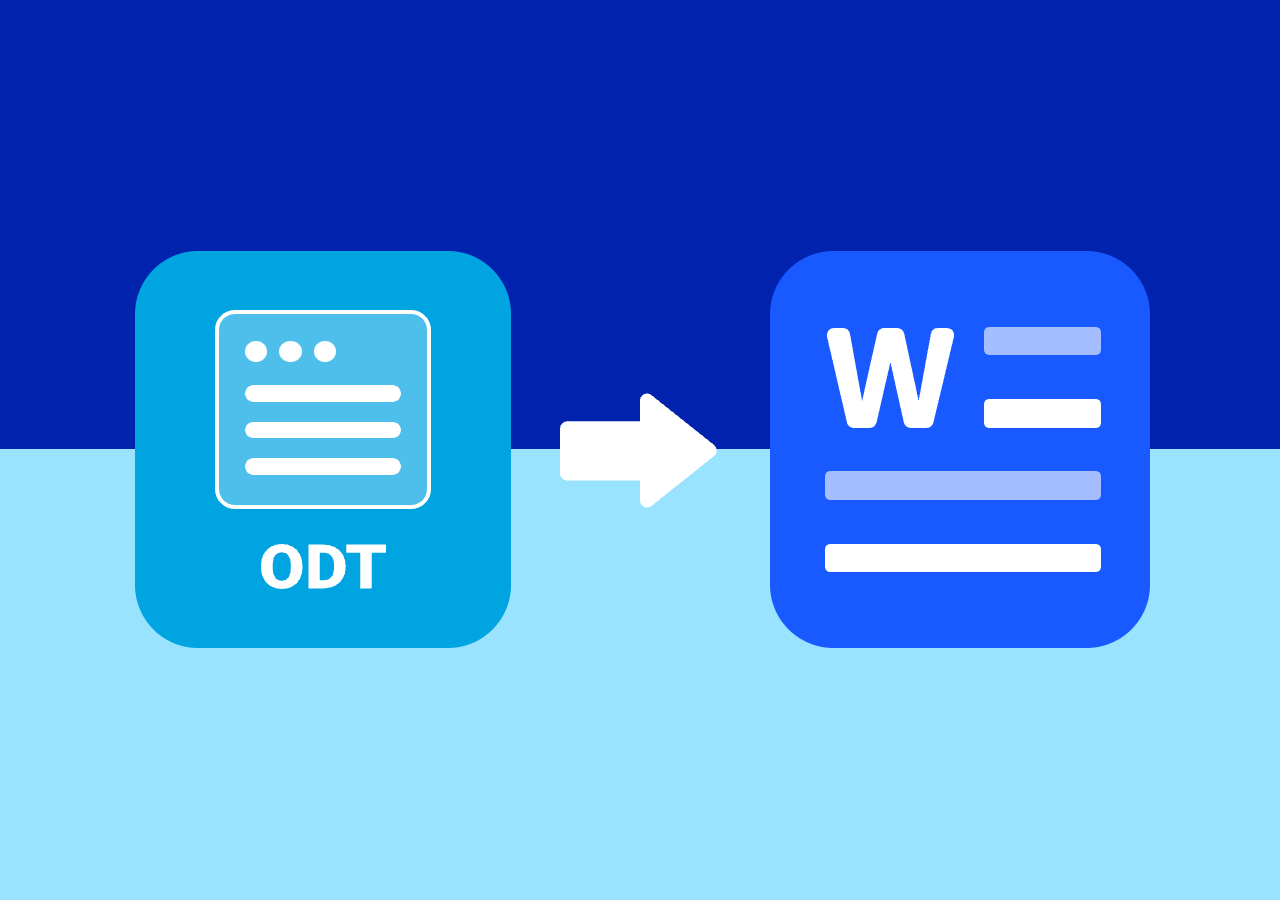
- Diverse file formats support, including Excel to CSV, PDF to Excel, ODT to Word, etc.
- Preserve your privacy as all uploaded files will be deleted within 24 hours after conversion
- Regular update to fix users’ problems and to meet more users’ needs
Let me walk you through how to convert Word to Image with CloudxDocs step by step:
Step 1. Open the official website of CloudxDocs Online Word to Image Converter on your browser.
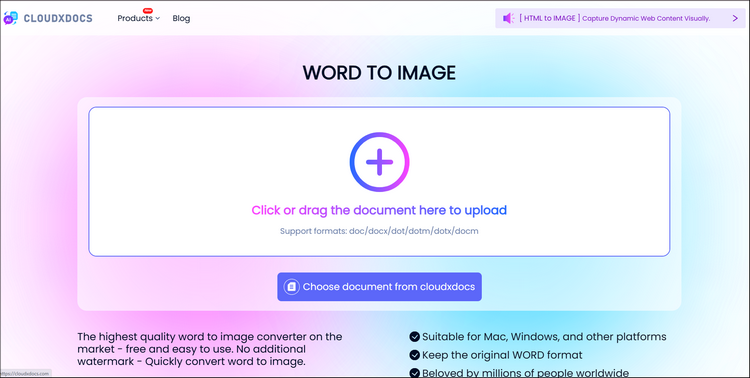
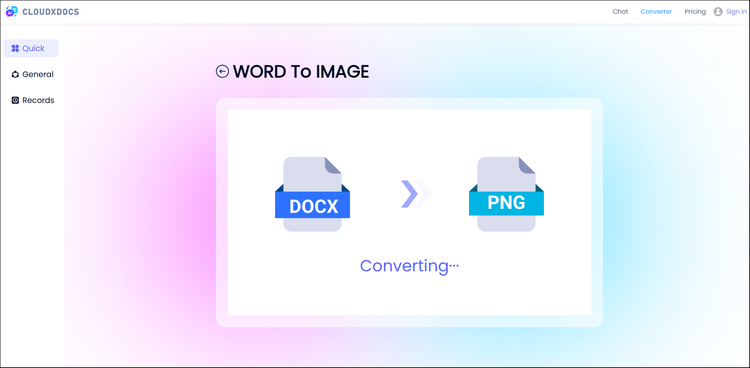
Step 2. Click or drag to upload your Word file. The converter supports both .doc and .docx format. Then, the website will begin to analyze your Word file.
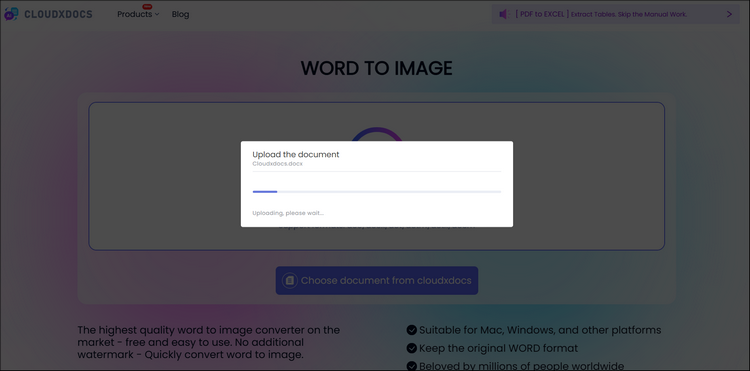
Step 3. After file analysis, the conversion process starts automatically, and you just need to wait for seconds. The whole process won’t take much time.
Step 4. After conversion, you can click the download button and save the compressed folder to your local file location.
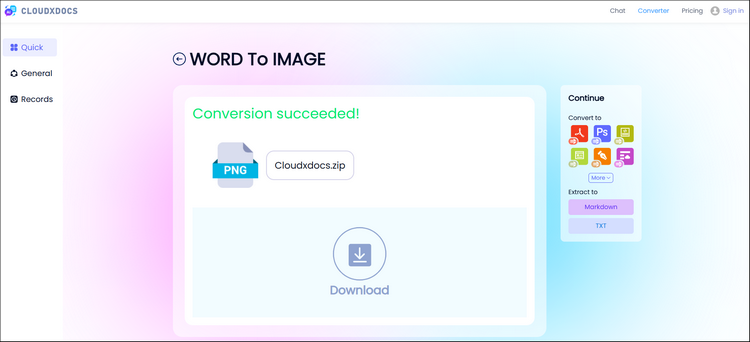
Step 5. Double click the .zip file from the “Download“ folder to unzip. Now, you can get access to all image files that include the content from your original Word file.
Method 4. Convert Word to Image Programmatically Using Code (For Developers)
Pros:
- Automation for large batches of documents.
- Integration with other systems for processing.
Cons:
- Requires coding knowledge.
- Software library might need to be purchased.
For developers or tech-savvy users, converting Word to image can be automated using code. This method is especially useful for batch processing multiple documents or integrating it into workflows. You can use libraries like Spire.Doc for .NET to handle the conversion programmatically.
Here’s a simple example in C# that shows how to convert a Word document to an image using Spire.Doc:
1 | using Spire.Doc; |
If you are looking for a more detailed tutorial of using code to convert Word files to Image format, read this post to get more information: Convert Word to Images with C#
Conclusion
Converting a Word document to an image is a flexible process with several methods to choose from. Whether you need a quick and simple solution with online converters or a more professional approach using software or code, there’s an option for everyone. Each method has its own pros and cons, so understanding them helps you pick the best fit for your needs.
Next time you need to share or present a Word document as an image, keep in mind there are many ways to do it efficiently and professionally.